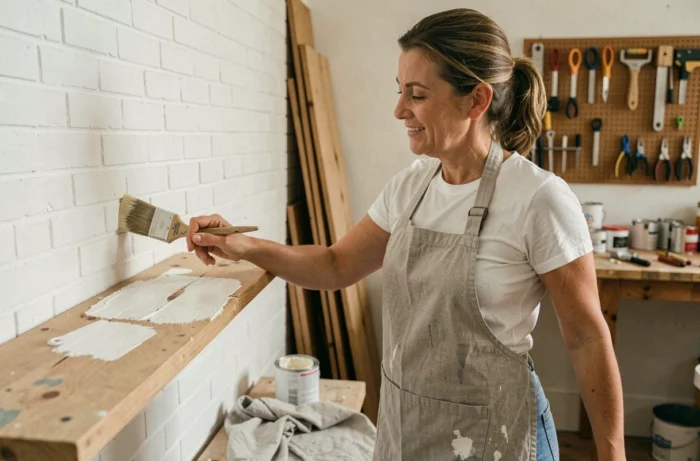
A wall to repaint, a shelf to fix, an old piece of furniture waiting for a second life in the garage: these DIY and decoration projects can sometimes linger for months before getting started. The main obstacle is not a lack of time, but uncertainty about the method. Knowing where to start, which materials to prioritize, and how to avoid costly mistakes transforms a stressful job site into a rewarding project.
Interior painting: choose the right product before the right color
Have you ever noticed that freshly applied paint can emit a lingering odor for several days? This is not insignificant. In France, the environmental labeling of indoor air emissions classifies products from A+ (very low emissions) to C (high emissions). For a bedroom or a poorly ventilated room, prioritizing a paint rated A+ reduces exposure to volatile organic compounds.
Before settling on a shade, check this label on the can. It is usually found on the packaging, often on the back. A paint with decent coverage but rated C in a child’s room poses a real air quality issue.
To compare references and find ideas suitable for each room, resources like bricodeco-solution.com allow you to cross-reference technical criteria with current decor trends.
Painting in an occupied home without causing disruption
If you live on-site during the work, the logistics change. You need to ventilate the room continuously, protect the remaining furniture with tarps, and allow sufficient drying time before reinstalling items. Painting one wall at a time, rather than the whole room at once, helps keep a functional space at all times.
Reuse of materials in decoration: check before laying
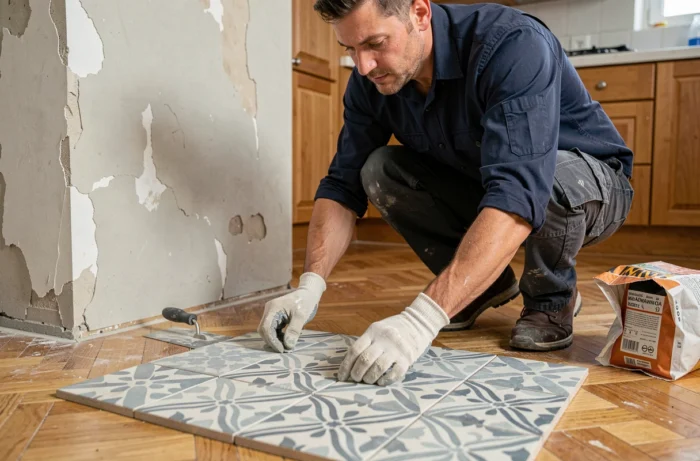
Recovering an old floor, repurposing wooden crates, reusing doors as table tops: reuse is appealing for its economic and aesthetic aspects. A common mistake is to rely solely on appearance. A reclaimed material must be technically checked before any installation.
For an old floor, two key points to check are: the flatness of the substrate (an uneven floor causes creaking and premature aging) and the residual moisture of the wood. A moisture level that is too high leads to warping after installation, even if the planks seem dry on the surface.
Assessing the condition of a piece of furniture before a makeover
Sanding and repainting an old wooden piece of furniture can yield spectacular results, provided the structure is sound. Check that the joints (tenons, dowels) are still secure. If the furniture creaks or wobbles, a simple application of wood glue and a clamp is often enough to stabilize it before finishing.
- Test the sturdiness of the legs and drawers by applying lateral pressure. A play of a few millimeters can be corrected, while a split leg needs replacing.
- Look for signs of mold or woodworms (small round holes). Pre-treatment prevents contamination of other furniture.
- Choose an appropriate primer if the old varnish is still glossy: without proper adhesion, the new paint will chip within weeks.
Managing DIY waste: a habit to adopt from the start
Many DIYers think about sorting only at the final cleanup stage. Waste sorting should be prepared before the first brush stroke. Having separate bags or bins from the beginning of the project prevents mixing everything together and simplifies disposal.
In practice, the fractions to separate in a typical home project are wood, metal (nails, screws, offcuts), plaster, and residual waste. This organization takes five minutes to set up and saves much more time when clearing out.
Leftover paint: a hazardous waste, even when dry
A half-empty paint can should not be thrown in the regular trash. Leftover paint is considered hazardous waste, whether liquid or dry. It should also not be poured down the drains. The best practice: keep the product in its original container and take it to the appropriate collection point in your municipality. A quick call to your local waste disposal facility will inform you of the hours and conditions for drop-off.
Designing a small space: utilizing walls and height
In a compact apartment, every square meter counts. Rather than accumulating floor furniture, installing wall storage frees up living space and creates a more airy impression. Open shelves, hooks, magnetic strips in the kitchen: the solutions are plentiful.
Why choose this option over traditional furniture? Well-placed wall storage places items at eye or hand level, which is more ergonomic. And it keeps the floor clear, facilitating movement and cleaning.
- Locate the wall studs with a detector before drilling. Fixing a loaded shelf into drywall without the appropriate anchor will always result in it pulling away.
- Choose fixings suitable for the expected weight: expansion anchors for heavy loads, Molly anchors for standard drywall.
- Align your shelves with a level, even for a “free” decor style. A few degrees of misalignment will be immediately noticeable once items are placed.
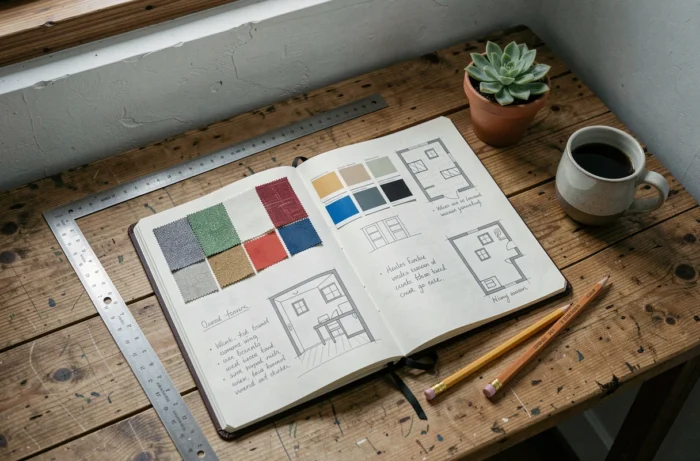
Before making multiple holes, sketch a rough plan with a pencil directly on the wall. Use pieces of masking tape to simulate the placement of each shelf. Step back, observe the overall layout, and adjust. This dry run prevents the need to fill unnecessary holes the next day.
A successful DIY or decoration project rarely relies on a miracle tool or a viral hack. The preparation of the substrate, the choice of the right material, and the overall management of the project make the difference between a durable result and a frustrating redo a few weeks later.